

Please note this feature is only available on the following devices and versions:
The AirMapper Site Survey application enables you to perform a Wi-Fi survey of an indoor or outdoor location and upload it to Link-Live. From here, you can view heatmaps and Wi-Fi measurements for each data collection point. The Signal heatmap is available to all users. AllyCare support customers can also view maps of Noise, SNR, and Max TX and RX rates.
AirMapper Settings
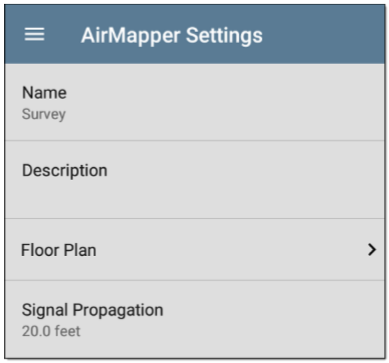
Setting up the AirMapper app to perform a survey involves naming, loading a floor plan image, and specifying its dimensions.
Configuring an AirMapperSurvey

Name - Touch the Name field to enter a custom name for your AirMapper project. This name is uploaded to Link-Live to identify this survey project.
Description - Enter any additional information you want for the survey.
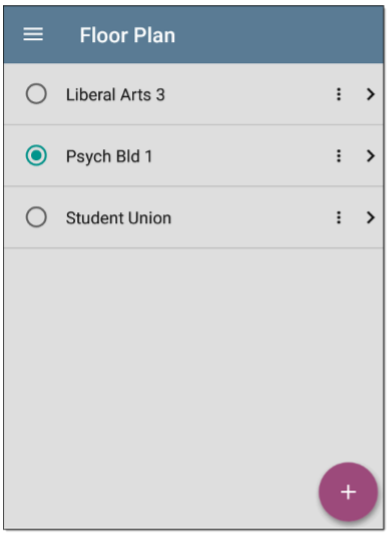
Floor Plan


Name: Enter a name for this floor plan. This field defaults to the file name.
Imported File: The original image filename
Width/Height: Enter either the width (horizontal side) or height (vertical side) measurement of your physical site. Whichever measurement you enter, the other dimension auto-updates proportionally based on the aspect ratio of your image file. The units(feet or meters) displayed in the AirMapper app are set in the General Settings for the test apps, accessed from the left-side navigation drawer . Touch back to return to the main AirMapper settings.
Signal Propagation - This setting is the radius measurement of the sample points. Touch the field to adjust the size of the data points on the map.
Channels and Dwell Time Settings - These settings control which bands and channels EtherScope scans during a survey and how long it lingers on each channel to gather data.