
You’re offline. This is a read only version of the page.


There are two ways to configure your LinkSprinter settings. One is via the Link-Live portal, which this article will cover, and the second way is via the mobile UI. Keep in mind the mobile UI will have more configuration options.
Configure via Mobile UI:
See Configure LinkSprinter Settings via Mobile UI for instructions.
Configure via Link-Live:
1. Login to Link-Live and access the menu stack.
2. Go to Settings, and then LinkSprinter.

Test 1Gb: If you are looking to test a 1Gb link, slide to green to enable.
Auto-off: This option will allow your LinkSprinter to turn itself (after 3 minutes) off to help preserve battery life.

If you need to assign a static IP, slide to green to Enable Static, otherwise leave this option alone for DHCP.
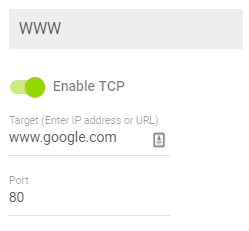
The WWW/Cloud test is configurable. The test type may be either PING or a TCP port open (SYN/ACK) of a user specified port. Three test are performed and the individual response times are displayed.
TCP: Slide to green to Enable TCP. The target defaults to google.com, port 80. The target may be an IP address or DNS name. The IP address of the DNS lookup is displayed in the test results.
Ping: If you'd rather use ping, slide to off.
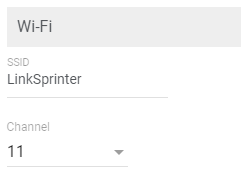
If you would like to change the SSID or channel that you are connecting to in order to access the mobile UI, you can make those changes here.
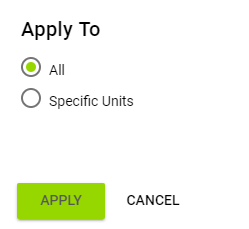
Once you have selected all your setting changes above you will have the option to choose which unit (or all units) that you would like to have them applied to. Click Apply when you are finished.